


|
Untitled Document

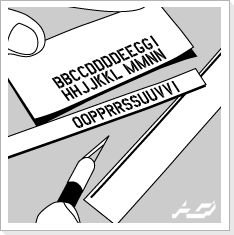 |

Cut transfers to shape. When trimming using
a ruler on a hard surface, take care not to press the ruler too firmly
against other markings. Unlike water slide decals, do not cut too close
to the edge of the markings but leave a comfortable margin, allowing easier
rubbing. The size of this margin will depend on the area of application.
..............................................................................
|
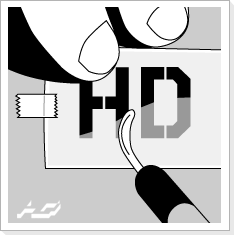 |

Select transfer location and position carefully,
as repositioning will be impossible once rubbing begins. One recommended
method is to secure the transfer to the surface with masking tape once
it has been properly positioned. Certain areas may preclude the use of
masking tape. In the case of small markings, it may be easier to forego
the use of tape.

Apply the transfer using a burnisher available
at any good art shop, or any similar tool with a hard, rounded tip. Perform
tests to find the optimum rubbing pressure on the logo or product title
portions of the transfer sheet. Start at one end and work across, maintaining
uniform rubbing strokes and pressure. Make sure that you are not applying
too much pressure, as damage to the backing film may result.
..............................................................................
|
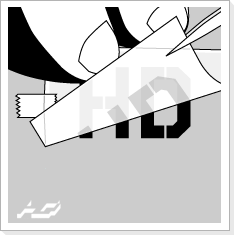 |

Carefully lift the edge to check that everything
has transferred, but be careful not to move the backing film. If the transfer
isn't complete, lay the film back down and rub over the items that have
not yet been transferred. Continue checking until the marking has been completely
transferred onto the model.
..............................................................................
|
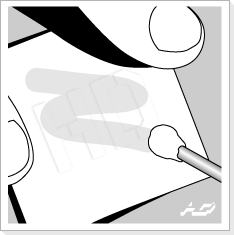 |

Place the smooth side of the backing paper over the transfer and burnish
with appropriate pressure in order to set the adhesive. Pay particular attention
to empty spaces such as panel lines, as the ink may only have been separated
from the backing paper and did not set on to the surface. To set such areas,
use a moistened cotton swap to lightly push the transfer down on to the
surface.
..............................................................................
|
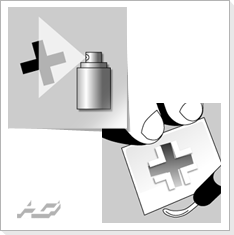 |

A mist coat of clear lacquer can be applied
to seal and protect the transfer, but a heavy, wet coat of lacquer can
cause certain colors to bleed. Apply a light initial coat, then apply
1 or 2 more to completely seal the transfer. Any water-based acrylic clear
can be used without fear of color bleed.

This is the process of layering markings
over previously transferred markings. In most cases this can be done without
any problems, but there can be instances where the lower layer marking
breaks away from the surface. To prevent this, a light coat of clear lacquer,
allowed to thoroughly dry should be applied before transferring the second
marker layer.
..............................................................................
|
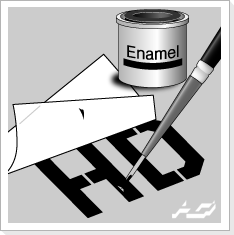 |

In areas of complex panel lining, small portions
of the marking may not have completely transferred. In this case, use small
amounts of flat or semi-gloss paint of identical colors to fill in the gaps.
Unlike water slide decals, these markings can be touched up with enamel
paints and sable brushes.
..............................................................................
|
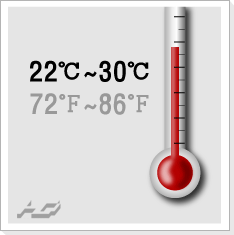 |

The recommended temperature for transferring
is 22 to 30°C.
Dry Transfers can be safely stored at -20 to 25°C. However, we recommend
such storage in an environment that is cool, dark, and relatively dry in
order to result in the very longest life.
Also, zipper bags should always be tightly locked on. |
|